Share a thought
What is it?
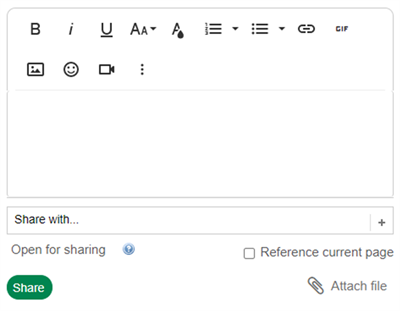
Sharing information, announcements, and links to specific groups of people in your digital workplace can be very easy through the Share a Thought feature. The Share a Thought quicklink in the userbar opens a window where you can create a microblog.
Much like how broadcasts can be used to push emails to groups of people, Share a Thought can be used to select an audience from a collection of channels. The advantage to using Share a Thought is that everyone in the workplace can engage in the same conversation.
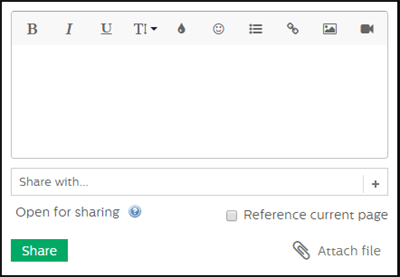
This feature is very similar to the experience of posting a microblog using the Microblog Post widget, but with three additional options: Open for Sharing, Reference Current Page, and Share With.

Use Cases
Let people know something new has been added to the workplace
You can quickly announce new content (files, blogs, etc.) on Microblog channels and include links to it automatically, by selecting the Reference Current Page checkbox.
Features and functionality
The Share a Thought feature has a few additional sub-features and functions, including:
- WYSIWIG Editor - Use the WSIWYG editor to write your message, attach media files, or stylize your message with various font colors and styles.
- Share with - This feature allows you to post to one or more Microblog channels.
- Attach file - This feature allows you to attach a file to your microblog post.
- Reference current page - This feature allows you to include a reference link to the current page, in your microblog post.
- Open for sharing - This feature restricts the ability to share an existing microblog post to other channels.
How to post a microblog using the Share a Thought feature
Microblogs are similar to a corporate Twitter feed. They are a great way to communicate a short thought to a specific audience or with the entire workplace. To quickly share a thought on a Microblog channel, follow the instructions below.
Step 1: Navigate to the Share a Thought section
Select the Share a Thought icon in the userbar. A dialogue box will appear.

Step 2: Type your message
Include the content you want to appear in the microblog post, using the Visual Editor option in the dialogue box.

Step 3: Select the channel you wish to share on
Click on the Share With field and select any number of existing Microblog channels to publish your post in.
Step 4: Open or close the Sharing option
If you want to prevent your post from being shared to additional Microblog channels after you have posted it, hover your mouse over Open for Sharing and select Close.
Note: The default Sharing option is set to Open.
Step 5: Reference the page (optional)
If you would like a link to the current location included in the post, check the Reference Current Page box.
Step 6: Attach a file (optional)
If you would like to include an attachment, click on Attachments and a file upload box will open. There you can drag and drop files from your computer, or click Select Files From Your Computer and browse your computer to select and attach a file.
Frequently Asked Questions
Is there a character limit?
No. There is no limit on the size of a microblog post.
Can I share one post to several locations?
Yes, you can share a microblog post to any channels on which you have access to post.
Why are there are channels that I cannot see in my list of available options?
You may not have permission to write to those channels. Only channels that you have access to will appear. Talk to your administrator if you believe they aren’t configured properly.