Last Updated:
June 16, 2021
by
Jesse Langstaff
| Version: 13
| 4,272 views
| 1 follower
members are following updates on this item.
The Salesforce Chatter widget Integrations widget provides a portal into your Salesforce environment, allowing you to view and add to your Salesforce Chatter feed.
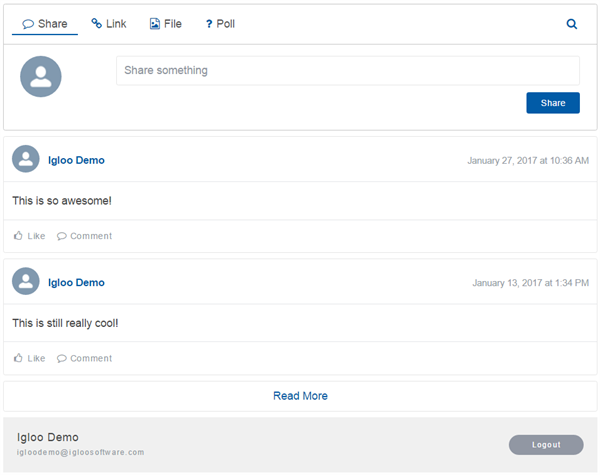
The Salesforce integration widgets provide many of the features available in the Salesforce web interface:
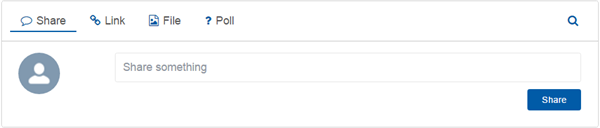
You can add plain-text posts to the chatter feed through the Share tab.
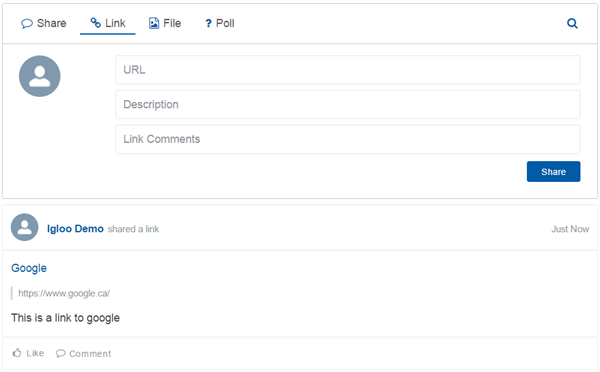
You can share a link via the Link tab. This requires a URL and can include a description, which will appear as the linked text, and plain-text comments.
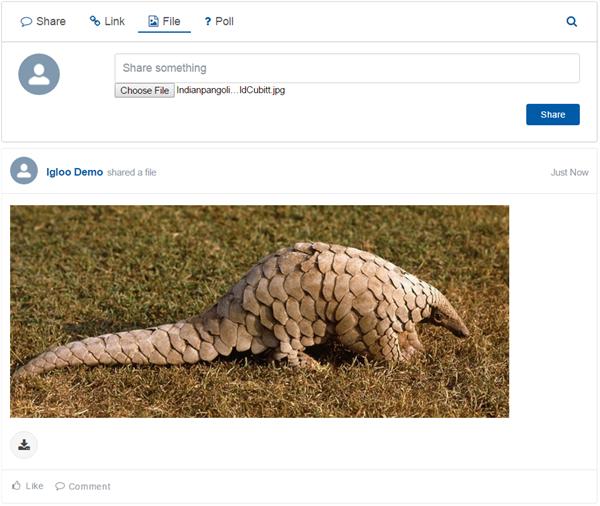
You can upload a file to share and include a plain text comment to go along with it.
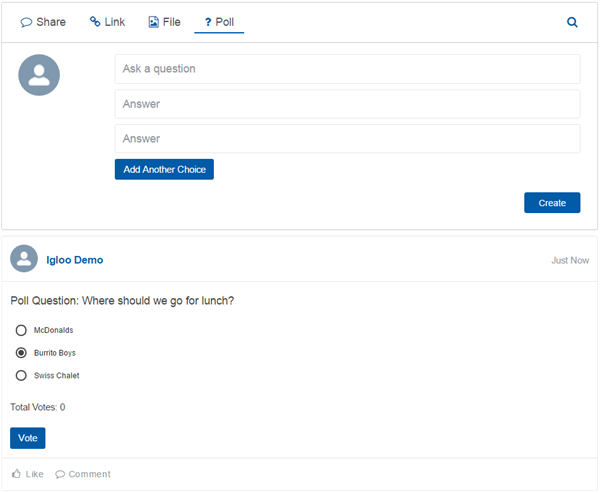
You can create a quick poll that others can vote on in the Poll tab with up to ten options.
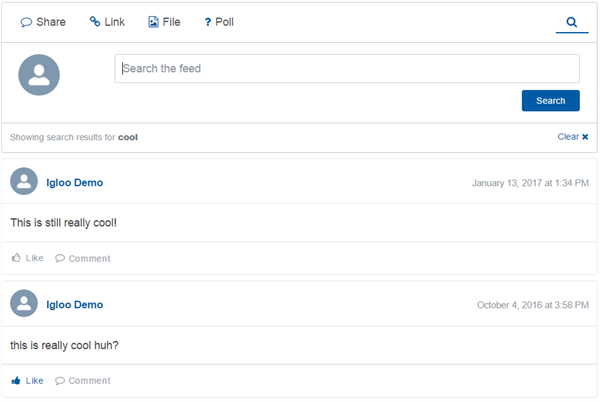
You can search existing chatter entries in the search tab.
You can comment on any post in the chatter feed. Comments are always plain-text and are not threaded.
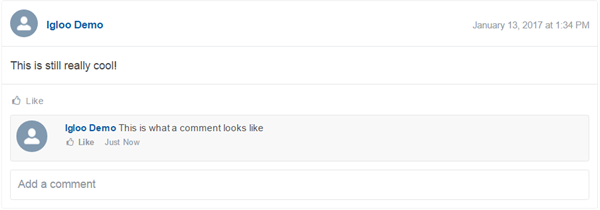
You can Like any post or comment.

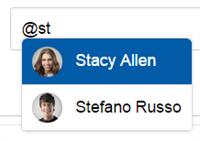
You can directly address individuals by typing the “@” symbol followed by their name. Options will appear which you can select.
Salesforce integration widgets require CORS to be enabled in your Salesforce instance. To enable CORS, see Salesforce - Enabling CORS.
Add an Integrations widget to your page.
Edit the widget and select the Salesforce Chatter option from the list.
Enter the full URL for your Salesforce instance. Ex. https://na34.salesforce.com
Use the dropdown to select whether you are connecting to a production or sandbox instance of Salesforce.
Select which feed type you want to display. The options are: community, group, topic, opportunity, or account.
Enter the full name of the feed you want the widget to display.
Note: Setting the field type to Community, and a feed name of “internal” will show the user’s default feed.
Selecting Advanced Options will expand a list of additional features. You can enable or disable them as appropriate.
Feed Size - Use this option to set the maximum number of posts to show inside the widget.