Last Updated:
June 16, 2021
by
Jesse Langstaff
| Version: 14
| 4,624 views
| 1 follower
members are following updates on this item.
The Salesforce Activities widget Integrations widget provides a portal into your Salesforce environment, allowing you to manage activities related to a specific opportunity from within your digital workplace.
You can view any activities awaiting action, and can sort and filter that list.
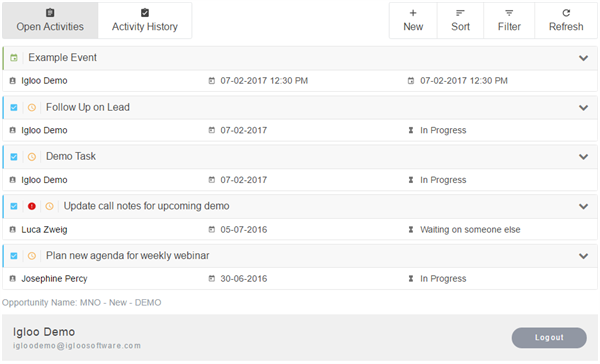
You can also view a history of completed activities.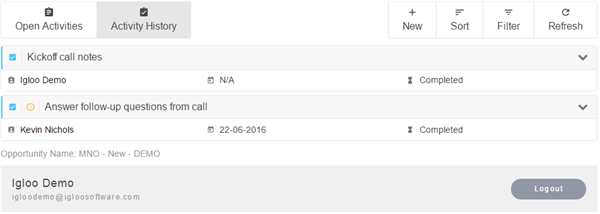
The Salesforce integration widgets provide many of the features available in the Salesforce web interface:
You can view activities, both current and complete. The interface shows whether it is a task or event, the priority, whether it is past due, the assignee, due date, and status.

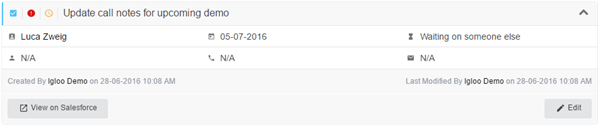
Selecting the downward pointing arrow to the right of an activity will expand it to display more details including contact information for the subject of the task, creation details, and options to edit it and open it in Salesforce.
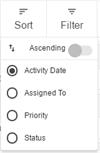
You can sort the list of activities by due date, assignee, priority, or status in either ascending or descending order.
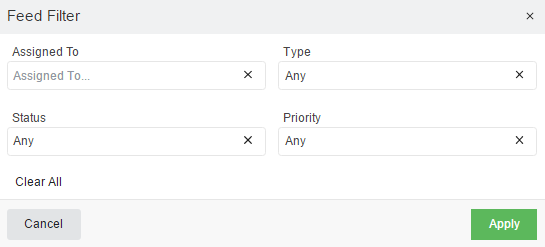
You can refine the list of displayed activities by applying filters. You can limit the list by assignee, activity type, status, and priority.
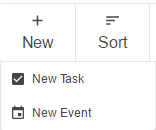
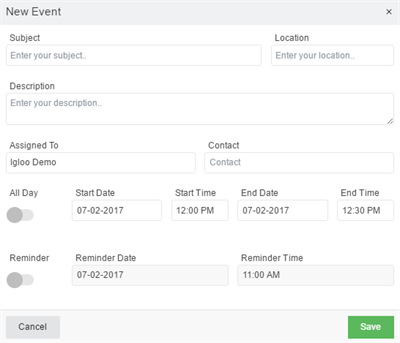
You can create new tasks and events through the widget.
All the details available in the Salesforce interface can be populated through the widget. Any activity created here will appear immediately in Salesforce.
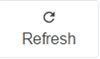
You can update the list of activities with any changes that may have happened in Salesforce.
Salesforce integration widgets require CORS to be enabled in your Salesforce instance. To enable CORS, see Salesforce - Enabling CORS.
Add an Integrations widget to your page.
Edit the widget and select the Salesforce Activities option from the list.
Enter the full URL for your Salesforce instance. Ex. https://na34.salesforce.com
Use the dropdown to select whether you are connecting to a production or sandbox instance of Salesforce.
Enter the full name of the opportunity you would like to display in the widget.
Selecting Advanced Options will expand a list of additional features. You can enable or disable them as appropriate.
Page Size - Use this option to set the maximum number of activities to show inside the integration.
Default Tab - Use this option to select whether the default tab shows "closed" or "open" activities.