SSO - Google
How to set up Google SSO
Step 1: Access your Admin app
Select your Google Apps and locate the Admin App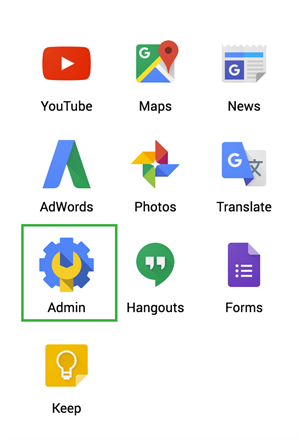
Step 2: Select Apps
Select the Apps icon
Step 3: Select SAML apps
Select the SAML Apps icon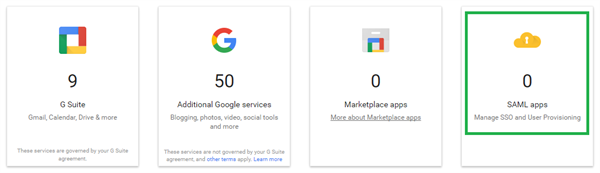
Step 4: Select Add a service/App to your domain
You will need to add a new service
Step 5: Select My Own Custom App
An Igloo App will not exist, as result, you will need to select the option to create your own custom App
Step 6: Copy the following idP information
Copy the SSO URL, and download the Certificate. These will be used when setting up the Igloo side of SSO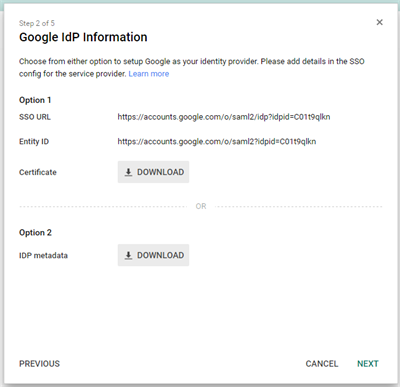
Step 7: Provide an Application Name
An application name is mandatory, and will determine how the app will appear in your list of applications. You can further add a description and image.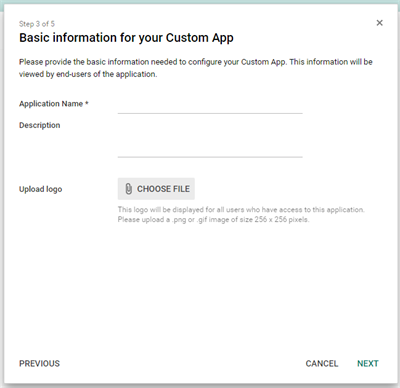
Step 8: Configure the service provider details
The ACS URL and Entity ID will both be your digital workplace URL with /saml.digest appended to it. The Start URL will be your workplace URL. Leave signed response unchecked, and ensure that the Name ID is set to Primary Email.
Step 9: Add new mappings
Select Add New Mapping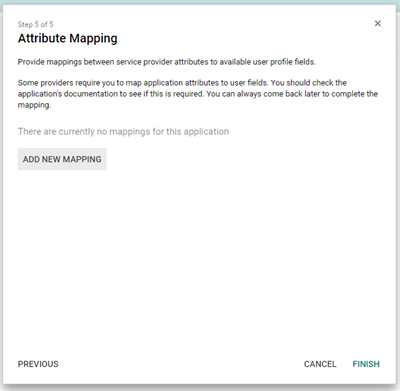
Step 10: Attribute Mapping
Add the following mappings:
- FName - Basic Information - First Name
- LName - Basic Information - Last Name
- Email - Basic Information - Primary Email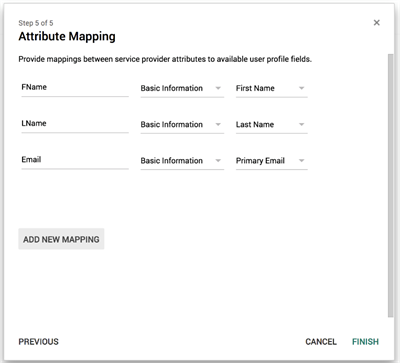
Step 11: Turn your new SAML configuration on
Select the vertical ellipses associated with your new SAML App and turn it ON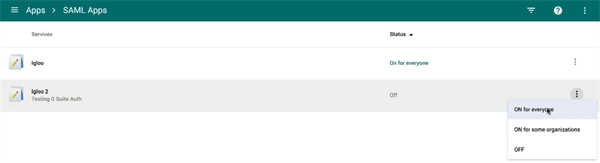
- The next series of steps take place back in your workplace
Step 12: Access your sign in settings
From your Control Panel, select Sign in Settings located underneath the Membership heading.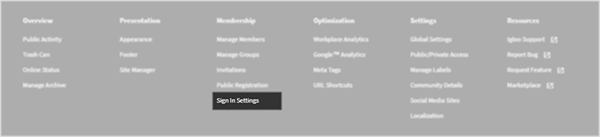
Step 13: Select configure SAML Authentication
At the bottom of the Sign in Settings options, there is a link Configure SAML Authentication, select it.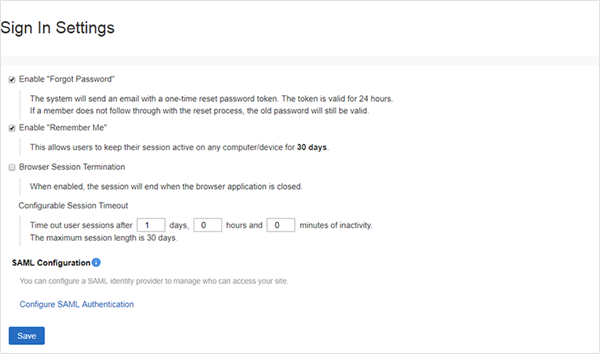
Step 14: General configuration
Copy the SSO URL from Step 6 into the field IdP Login URL. Then copy the X.509 Certificate from Step 6 to the Public Certificate field of the General Configuration. You will need to open up the file you downloaded used a text editor.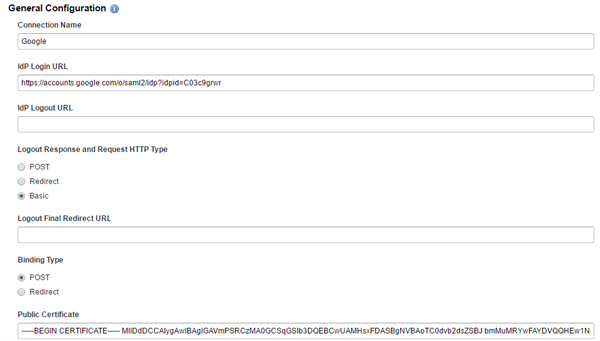
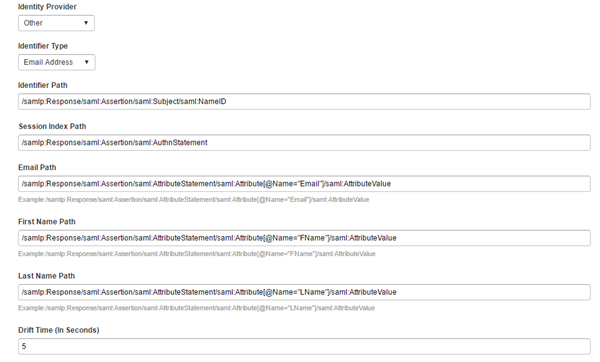
Step 15: Response and Authentication Configuration
Ensure that your settings for this section matches those in the image below. The attribute statements are:
- Email /samlp:Response/saml:Assertion/saml:AttributeStatement/saml:Attribute[@Name=Email]/saml:AttributeValue
- First Name /samlp:Response/saml:Assertion/saml:AttributeStatement/saml:Attribute[@Name=FName]/saml:AttributeValue
- Last Name /samlp:Response/saml:Assertion/saml:AttributeStatement/saml:Attribute[@Name=LName]/saml:AttributeValue
Step 16: Enable/Disable SAML provisioning of new members
Select how your digital workplace handles users who attempt to sign in to your digital workplace when they have valid credentials but are not members of the workplace.
If your digital workplace uses the ILST to manage members, select Do not create new users when they sign in to avoid the creation of duplicate user accounts.
Step 17: Enable/Disable SAML provisioning of new members
Use SAML button on "Sign in" screen: Adds a SSO sign in button to the Igloo Authentication page.
Redirect all users to IdP: Automatically redirects members to your ADFS sign in page if they attempt to access the workplace without an existing session.